Raylib - How to setup your custom shaders
Table of Contents
Like you know from my last post, I have moved to raylib. I had already played with it to some extent, mostly in 2D projects and using rectangles or simple textures for my characters, and I had no idea on where to begin with 3D assets.
Much less on where to start with custom shaders for them.
Raylib’s webpage has a very helpful list of examples to get us started, but I could not find one about this topic.
After some digging, I finally found this blog post by sepi, who very helpfully get us started and even provides some simple vertex and fragment shaders.
They use odin, though, and I wanted to pass more data in that they do, such as the light’s direction or strength.
At the end of the day, once you know, you know just by looking at the examples. It is easy, but if you are starting out, it is also easy to miss if no one tells you directly how to get it done.
I adapted where I could and researched the functions that did not work for me, and now I am writing down how I did it all with C++ here, so I don’t forget you can too!
Getting Started⌗
First of all, you will need an empty project. I myself use Visual Studio for this, but you can use any IDE. If you would like to use VS as well, I have a tutorial on how to set it up here.
At time of writing, I am using raylib 5.5.
The structure of my project is as follows:
├── res/
│   ├── models/
│   │   └── Icosphere.mtl
│   │   └── Icosphere.obj
│   └── shaders/
│       └── vertex_basic.glsl
│       └── fragment_basic.glsl
└─ src/
   └── light.h
   └── main.cpp
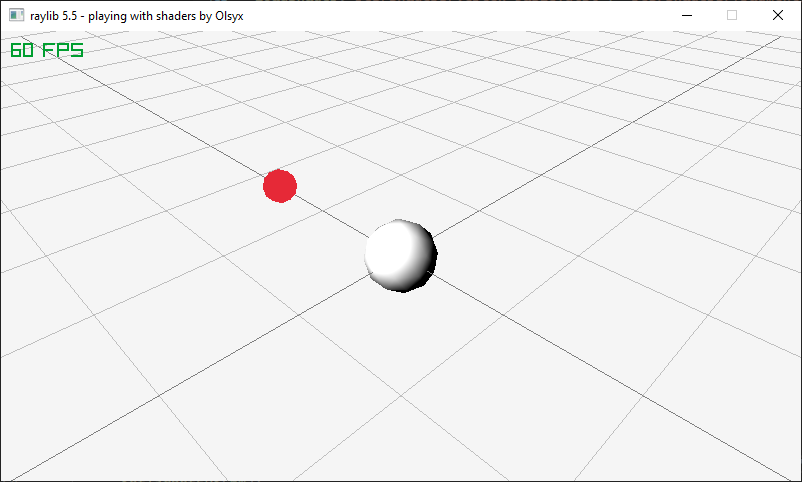
And you will need a mesh to render. I have prepared this simple icosphere in Blender that you may use as a starting point.
The Code⌗
I like raylib’s way of showing things by example, so I am just going to paste the code here:
// light.h

#pragma once
#include "raylib.h"

typedef struct Light
{
	Vector3 Position;
	Vector3 Direction;
	Vector3 Color;
	float Strength;
};
// main.cpp
#include "raylib.h"
#include "light.h"

Camera InitCamera()
{
    Camera camera = { 0 };
    camera.position = Vector3{ 25.0f, 25.0f, 25.0f };
    camera.target = Vector3{ 0.0f, 0.0f, 0.0f };
    camera.up = Vector3{ 0.0f, 1.0f, 0.0f };
    camera.fovy = 45.0f; // Field of View Y
    camera.projection = CAMERA_PERSPECTIVE;

    return camera;
}

Light InitLight()
{
    Light light;
    light.Position = Vector3{ 0.0f, 10.0f, 10.0f };
    light.Direction = Vector3{ 0.0f, -1.0f, -1.0f };
    light.Color = Vector3{ 1.0f, 1.0f, 1.0f };
    light.Strength = 0.1f;
    return light;
}

Shader InitShader(Light &light)
{
    Shader shader = LoadShader(
        "res/shaders/vertex_basic.glsl",
        "res/shaders/fragment_basic.glsl"
    );

    int loc = GetShaderLocation(shader, "lightPos");
    SetShaderValue(shader, index, &light.Position, SHADER_UNIFORM_VEC3);

    loc = GetShaderLocation(shader, "lightDir");
    SetShaderValue(shader, loc, &light.Direction, SHADER_UNIFORM_VEC3);

    loc = GetShaderLocation(shader, "ambientColor");
    SetShaderValue(shader, loc, &light.Color, SHADER_UNIFORM_VEC3);

    loc = GetShaderLocation(shader, "ambientStrength");
    SetShaderValue(shader, loc, &light.Strength, SHADER_ATTRIB_FLOAT);

    return shader;
}

int main(void)
{
    const int screenWidth = 800;
    const int screenHeight = 450;

    InitWindow(screenWidth, screenHeight, "my raylib project");
    SetTargetFPS(60);

    Camera camera = InitCamera();
    Light light = InitLight();
    Shader shader = InitShader(light);

    Vector3 modelPos = Vector3{ 0.0f, 0.0f, 0.0f };
    Model model = LoadModel(modelPath);
    model.materials[0].shader = shader;

    while (!WindowShouldClose())
    {
        BeginDrawing();
            ClearBackground(RAYWHITE);

            BeginMode3D(camera);
                DrawModel(model, modelPos, 3.0f, WHITE);
                DrawGrid(20, 10.0f);
            EndMode3D();

            DrawFPS(10, 10);
        EndDrawing();
    }

    CloseWindow();

    return 0;
}
The Shaders⌗
A shader is just a program that runs in the GPU. And we need two of them; one for vertices and one for fragments.
These are just for testing. The code would end up very similar to sepi’s, so I changed it a bit. Go get their version for a basic light up setup!
In mine, you get all the light variables and raylib’s tint injected:
// res / shaders / vertex_basic.glsl
#version 330 core

in vec3 vertexPosition;
in vec3 vertexNormal;
in vec4 vertexColor;

out vec4 fragColor;
out vec3 fragPosition;
out vec3 fragNormal;

uniform mat4 matModel;
uniform mat4 matView;
uniform mat4 matProjection;

void main()
{
    fragPosition = vec3(matModel * vec4(vertexPosition, 1.0));
    fragNormal = vertexNormal;
    fragColor = vertexColor;

    gl_Position = matProjection * matView * vec4(fragPosition, 1.0);
}
// res / shaders / fragment_basic.glsl
#version 330

out vec4 finalColor;

in vec4 fragColor;
in vec3 fragPosition;
in vec3 fragNormal;

uniform vec4 colDiffuse;     // The tint passed when drawing

uniform vec3 lightPos;
uniform vec3 lightDir;
uniform vec3 ambientColor;
uniform float ambientStrength;

void main()
{
    finalColor = vec4(colDiffuse.rgb + ambientColor * ambientStrength, fragColor.a);
}
The Important Bits⌗
raylib provides us with a library of in-built shaders and post-pro effects to use if we want to. I do not have a comprehensive list, but you can find a bunch of them in this example.
You would normally load them with a path like
"resources/shaders/glsl%i/xxx". Instead, we use the path to our own shaders.To inject variables into a shader, you need to get their memory location and pass in the reference of the value with a descriptor of what type of value the shader should expect:
    int loc = GetShaderLocation(shader, "lightPos");
    SetShaderValue(shader, index, &light.Position, SHADER_UNIFORM_VEC3);
If the variable’s values change, you will need to do this again.
This is done per shader. I highly recommend creating some structure to make it more maneagable.
For textures, you can use model’s material’s
mapsattribute. raylib will memorize this and update the shaders before drawing
#define MATERIAL_MAP_ALBEDO        0   // Diffuse color (base color)
#define MATERIAL_MAP_METALNESS     1   // Metalness
#define MATERIAL_MAP_NORMAL        2   // Normal map
#define MATERIAL_MAP_ROUGHNESS     3   // Roughness
#define MATERIAL_MAP_OCCLUSION     4   // Ambient occlusion
#define MATERIAL_MAP_EMISSION      5   // Emissive/glow
#define MATERIAL_MAP_HEIGHT        6   // Height/displacement
#define MATERIAL_MAP_CUBEMAP       7   // Environment map (for skybox/reflections)
#define MATERIAL_MAP_IRRADIANCE    8   // Irradiance map (light contribution from sky)
#define MATERIAL_MAP_PREFILTER     9   // Prefilter map (for specular reflections in PBR)
#define MATERIAL_MAP_BRDF          10  // BRDF lookup texture (used in PBR lighting)
- These are injected as
texture0,texture1and so on in the shader. Retrieve them by usinguniform sampler2D texture0
And that’s it! Hope this helped ✨
If you made it this far...
Thank you! I hope you liked it!
I do not allow comments in my blog because I do not want to deal with bots. However, feel free to contact me!
And if you would like to support my work, please, consider doing so through ko-fi: